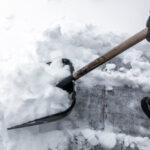
Digging post holes in winter can be challenging due to the cold weather and frozen ground, which makes it extremely hard to get the job done. When we can wait to dig a post hole, our lives are certainly easier, but if you need to dig a post hole, there are some tips that you can use to make the process easier and more successful.
Table of Contents
Why Dig A Post Hole In Winter?
Sometimes we can not wait for great weather to dig a post hole. Stuff happens, such as replacing structural supports on decks, patios, and other outdoor living spaces that need extra reinforcement due to extreme weather conditions like snow or freezing temperatures. Repair or replace a broken utility pole to restore power or telephone services. Set up a temporary foundation to secure heavy equipment to prevent it from shifting or sinking in the snow and ice.
Digging post holes in winter can be an advantage for several reasons. First, the frozen ground provides a more stable base, making it easier to keep the posts from shifting after installation. Additionally, the cold weather helps keep posts from rotting as quickly and also reduces weed growth around them.
Digging post holes in winter poses some safety risks you cannot ignore before beginning work. First, wear proper clothing, such as gloves and boots with good traction, so that you don’t slip on icy surfaces or get frostbite on your hands. Also, have someone nearby who can help if there is an emergency or injury. Once you have your safety risks minimized, you will need some tools.
Tools Required
The tools required for digging post holes in winter include:
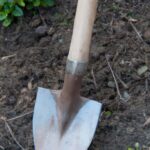
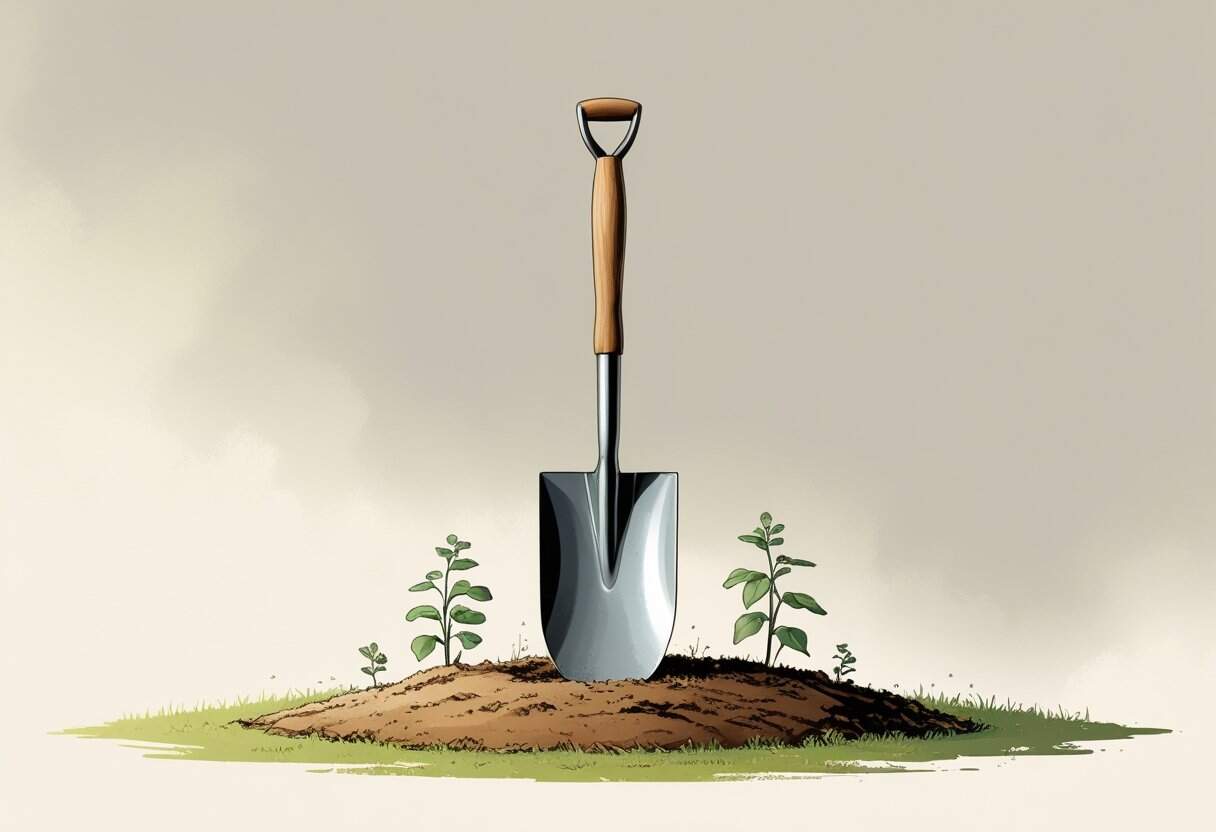
- Shovel
- Post hole digger- manual or powered
- Digging bar
- Pick axe
- Chisel
- Ground Drainage Material such as sawdust, sand, or gravel.
- Landscape fabric or plastic sheeting
- Small Heater
- Appropriate clothing
- Cement if required
Technique To Dig A Post Hole In Winter
Digging post holes in winter requires different techniques than in summer due to the frozen ground.
1. Ensure you have the right equipment — A chisel, digging bar, or pickaxe will give you more leverage when breaking up frozen soil. If necessary, rent an electric or gas-powered auger for larger jobs. In addition, wear proper protective clothing such as gloves and boots with good traction and have someone nearby who can help if there is an emergency or injury.
2. Get started early — Digging in colder temperatures is more manageable than waiting until the sun warms up and softens the soil. So start before sunrise, if possible, to get a jump on things.
3. Look for potential utilities or other underground hazards, such as gas lines and mark them. Call your local utilities and have them mark the locations for you.
4. Pour warm water into the hole — Before digging, pour some hot or warm water into the post hole to help thaw out the ground, making it easier to dig and reducing the chances of your tools getting stuck.
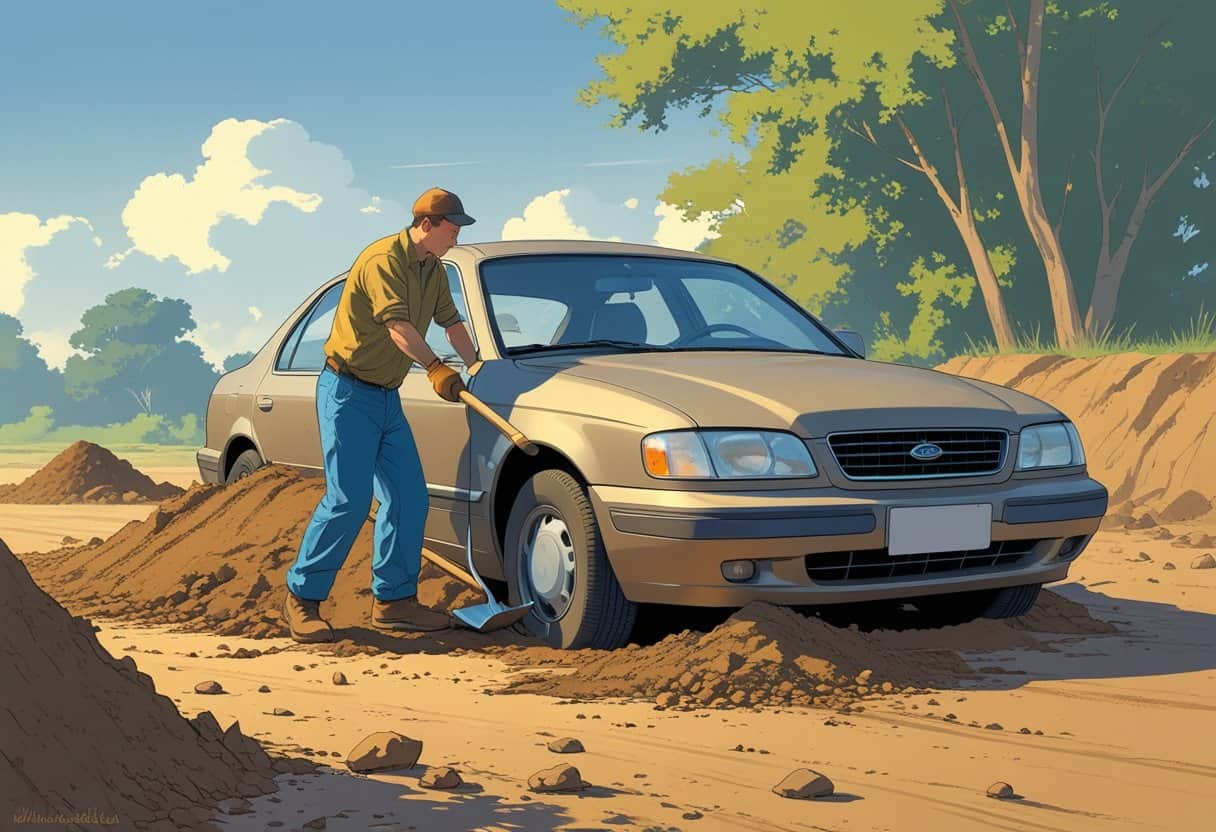
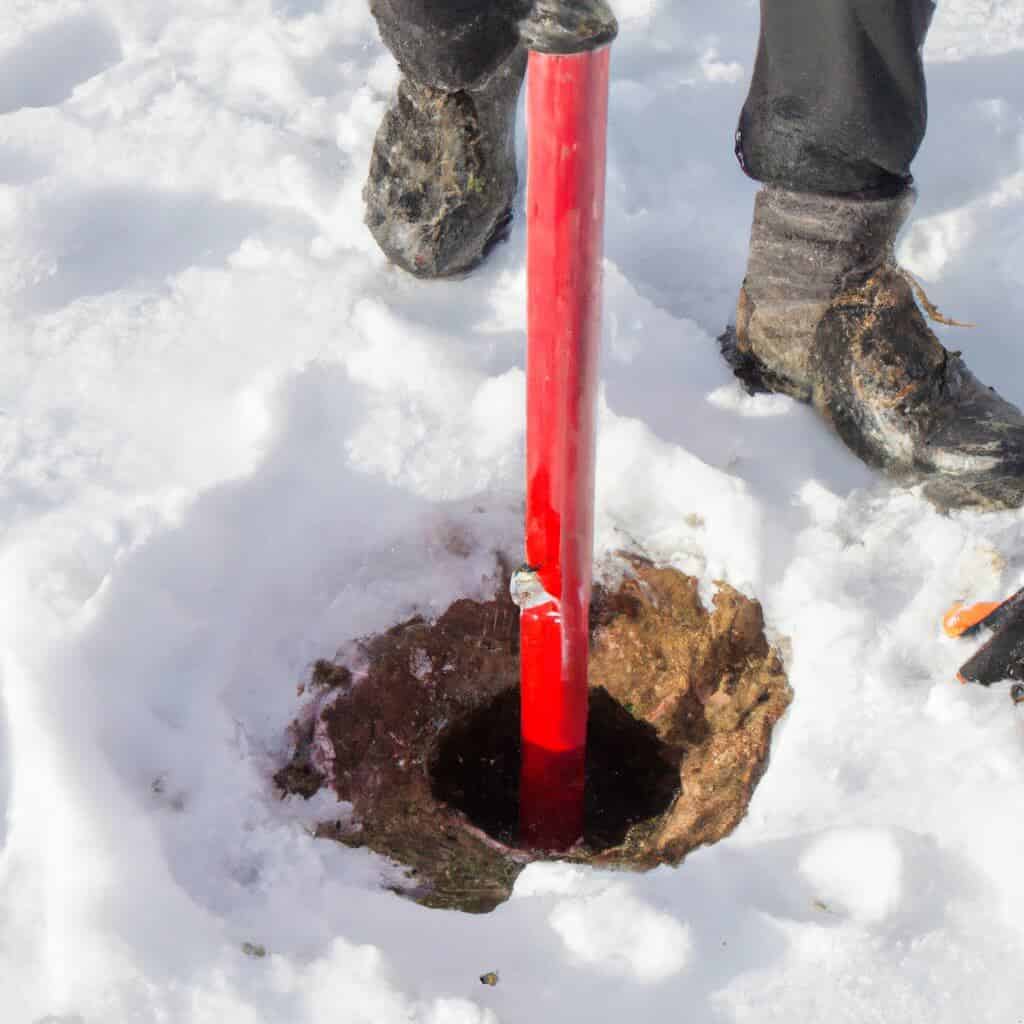
5. Use the chisel, spade and digging bar — A heavy-duty spade is your best bet when digging post holes in winter. Use one with an extended handle, so you don’t have to bend over too much. First, use the chisel or digging bar to break up large chunks of ice, then use the spade to move them aside.
6. Dig out a hole around 8-10 inches before switching to the post hole digger and digging deeper to get below the frost line.
7. Drainage — Cold weather can cause moisture to accumulate in the bottom of post holes, which could lead to rot if not appropriately addressed. Add some drainage material to the hole to ensure the post can be installed securely. Add sawdust, sand or gravel to the bottom of each hole before filling it with soil or concrete for proper drainage.
8. Take regular breaks — Digging in the frozen ground will require more force and may cause you to fatigue faster than usual, so take frequent breaks. In addition, a small heater to keep you warm while digging will make the job much more comfortable.
9. Use a level when filling post holes — After digging, use a level to ensure each post hole is even before filling with concrete or soil for stability and proper alignment of posts once installed, as this will help prevent any potential issues down the road and clean up any excess dirt or debris.
10. Don’t forget to add a layer of protection — When finished, lay down landscape fabric or plastic sheeting at the bottom of each post hole to keep moisture out and protect posts from rot. Doing this will also help reduce weed growth in the future.
If you are finding this guide helpful, you will enjoy The 10 Best Ways To Melt Ice On Driveways With Minimal Effort
Cement And Winter Post Hole Creation
Cement is not necessary for post hole installations in winter. Digging specific depths and adding ground drainage material should provide enough stability to protect against shifting after installation. However, if you are installing a heavier structure like a fence, cementing the posts into the ground may be beneficial for extra durability and support.
You can pour cement in a post hole in winter. However, there are a few precautions to take when doing so. Ensure the area is snow and ice-free before pouring the cement. The ground should also be well drained so that water does not freeze and cause the ground to expand.
Use an appropriate mixture of cement and aggregates for cold temperatures. Finally, it’s essential to insulate the concrete after it has been poured by covering it with burlap, landscaping cloth or plastic sheeting until it sets to prevent thermal shock from extreme temperature changes.
What Will Happen To The Post Hole When Temperatures Are Warmer
In the summer, post holes dug in winter can experience a few seasonal issues. As the ground thaws, any posts not adequately secured may shift or sink due to ground movement. Additionally, if the posts are near water sources, there is a chance of flooding, which can cause damage and instability to your post holes.
Digging post holes in the wrong place in the winter can also be a costly mistake. For example, if the posts are too close to utility lines, they may need to be moved at an additional expense. Additionally, if the posts are in a low-lying area prone to flooding or pooling water, it could lead to damage and instability down the road.
To prevent problems with your winter post holes, check them every season for signs of shifting or sinking. Then, if necessary, resetting the post in concrete should provide enough stability against movement until the following season.
Digging post holes too deep can lead to a few issues down the road. Posts placed too deep may be less stable and more prone to shifting or sinking due to ground movement. Additionally, deeply seated posts can be more inclined to frost heave in winter, which can cause further instability. Double-check the depth of each post before installation.
Final Thoughts
Digging post holes in the winter can be a difficult task. However, taking precautions and following proper steps will ensure your posts are secure and stable come spring. With adequate preparation, your post hole project should turn out as planned.