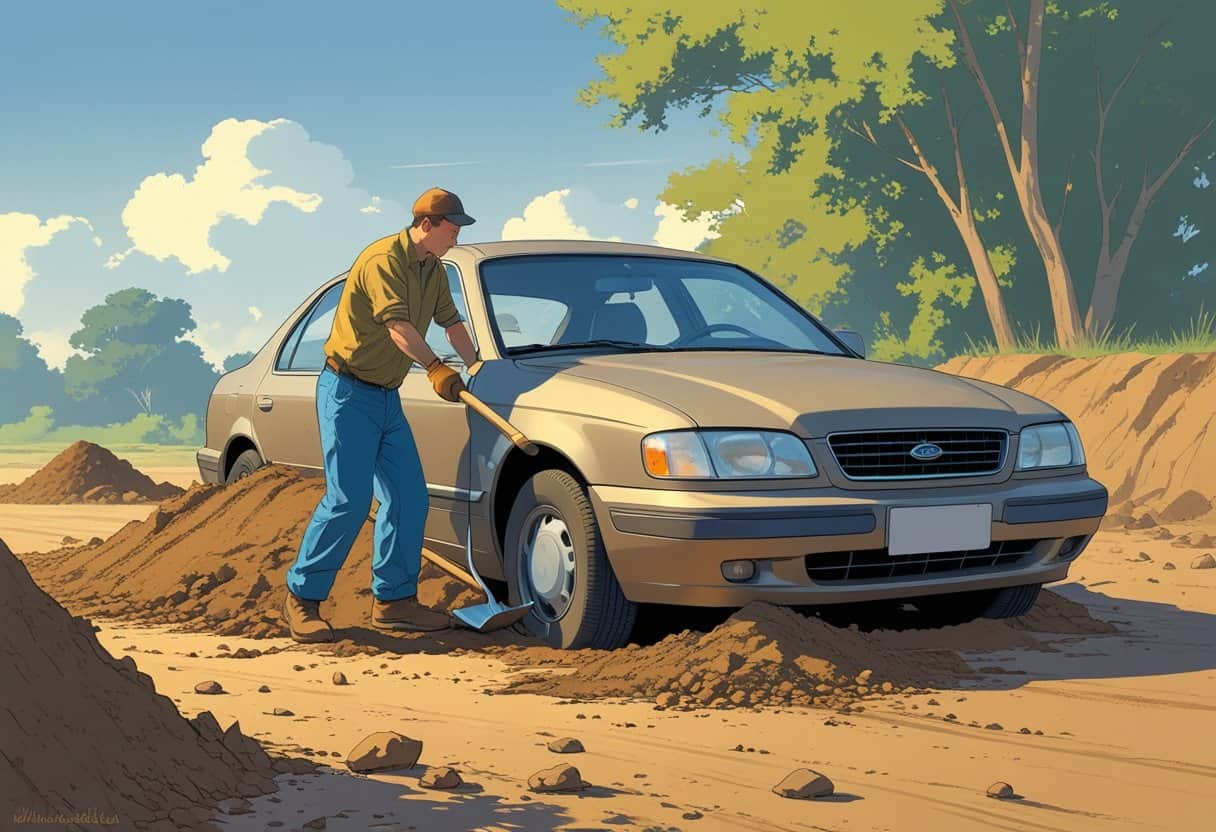
After completing a task such as digging a trench or clearing the driveway from a foot of snow, our energy is often spent.
The last thing on our mind is to clean or take care of the shovel.
Often we say to ourselves it’s good the way it is; it will dry off, I will do it later. When we need the shovel once again, we find ourselves saying oh, I should have washed off this blade; look at the rust, oh the handle on this shovel has so many splinters, why isn’t the edge digging so well?
Table of Contents
REASONS TO CLEAN YOUR SHOVEL
– Caring for your shovel and keeping your shovel clean after use will extend its lifetime and use.
– Although your shovel may still function properly without a good cleaning, it’s more likely to get weathered quicker if you put it away dirty.
– It will keep your blade nice and sharp so that you won’t be struggling with your next project.
– Caring for your shovel and keeping your shovel clean after use will extend its lifetime and use.
– You will not hurt yourself forcing a dull blade through hard ground or end up with splinters in your hands.
There are several different types of shovels, and the maintenance can vary depending on the materials used in making your shovel.
Plastic shovels are excellent for clearing snow from your driveway or building a sandcastle, while metal shovels are sharp enough for you to dig holes in your garden for planting.
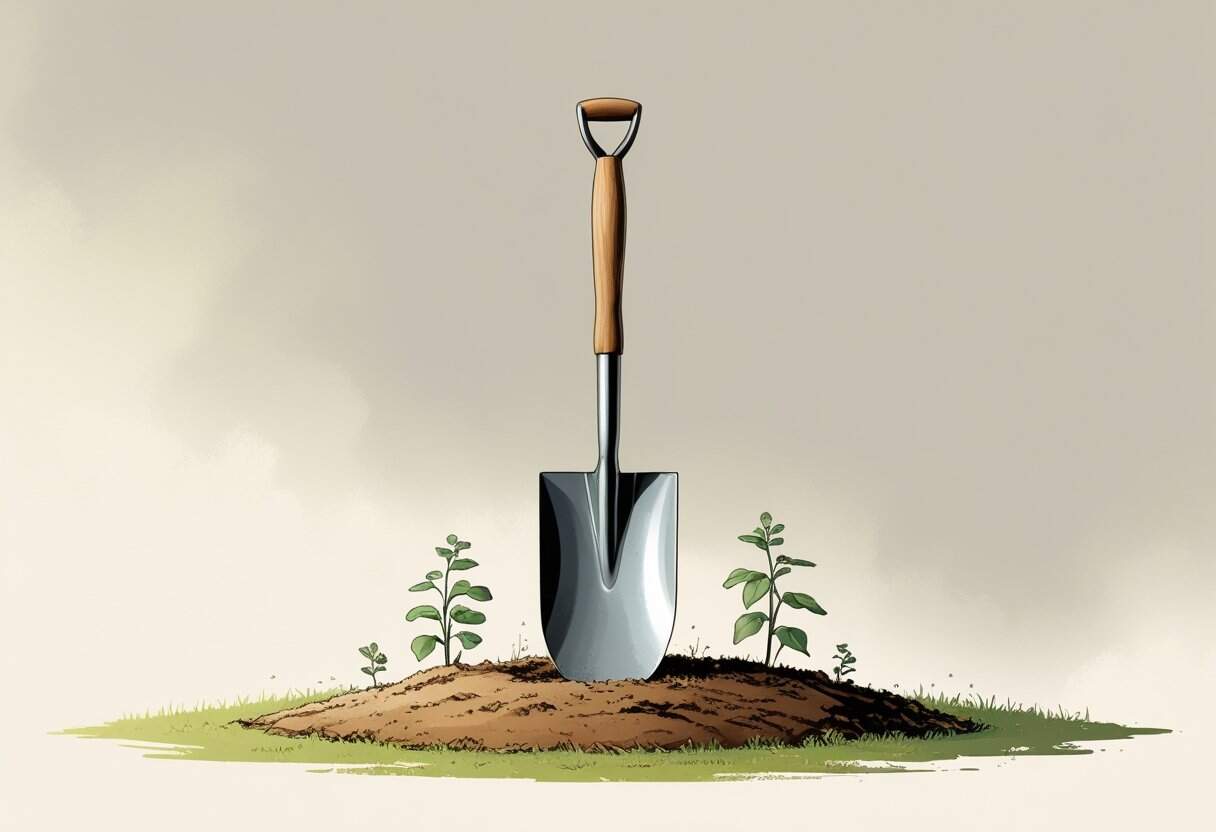
How To Clean The Wooden Handle On A Shovel
A shovel’s wooden handle gets weathered due to the elements and the shovel activity, such as mixing cement. Your shovel may see harsh sunlight and rainfalls or be exposed to changing temperatures. While all of this is perfectly normal and unavoidable, it does take a toll on the shovel handle.
Cleaning your wooden shovel handle not only makes it look nice and new again, but it also ensures that your handle will live longer to be there throughout all of your projects.
The safety of the handle when using the shovel will be more robust. Your hands and fingers will thank you as getting a sliver in your hand is not pleasurable and delays you in efficiently getting the job done. Knowing the shovel is ready to do work may motivate you to venture forth with your project.
Before getting started, you should make sure you have some safety gear. Get your safety goggles, dust mask, and work gloves ready. Cleaning your shovel isn’t a complicated process, but it does kick up some dust and fumes you won’t want to breathe in.
Lay your shovel down on a flat surface and use a wire brush to clean off any dirt, sand that clung to the handle. Use a piece of 120 grit sandpaper and wrap it around the handle. Use your hand to hold the sandpaper in place. Starting at the handle’s blade end, rub the sandpaper up and down to smooth out any rough or splintered sections of wood. For the best results, sand in sections, do a few inches at a time. Do this roughly 10-15 times in each section. Then, with your gloves on, rub your fingers up and down the handle. If any wood snags on the glove sand it down a bit more.
Continue doing this in different sections until you reach the top of your handle.
Once the handle is sanded and smooth, wipe the handle down with a tack cloth from top to bottom. A tack cloth is a cloth such as a microfiber towel that will wipe off the small particles and dust left behind from sanding.
Next, get a rag and pour 5 or 6 tablespoons of linseed oil or danish oil on the rag. Wrap the rag around the handle applying the oil to the wooden handle. Make sure your entire handle gets coated with oil. You may need to add more oil to your cloth as you work your way down the handle.
Allow the shovel to sit undisturbed overnight to allow the oil to absorb into the wooden handle.
The next day take a look at the handle and feel the shovel handle to see if it absorbed all of the oil. If the handle looks or feels dry, add another coat of oil. Keep doing this each day until the handle feels smooth.
There may be sections that feel oily and areas that are dry. Wipe off any excess oil with a rag. The oil will penetrate the wood so it does not dry out and break and will also provide a weather resistant shell to the handle. Rain, snow, dirt and chemicals will not penetrate into the handle and it will last a long time.
How To Clean A Shovel’s Metal Blade
Digging a hole to plant your favourite tree, or trying to remove weeds that are deeply rooted? Metal shovel blades will make your life in the garden so much easier. Keeping your shovel blade clean will help keep the blade’s edge sharp and ready to tackle any job you throw its way.
If you neglect cleaning the blade, then over time, it will become dull. A dull blade will cause you a lot of frustration with your next garden project, which is hard on your back, hips, knees, neck as you are using brut force to push a dull blade into the soil.
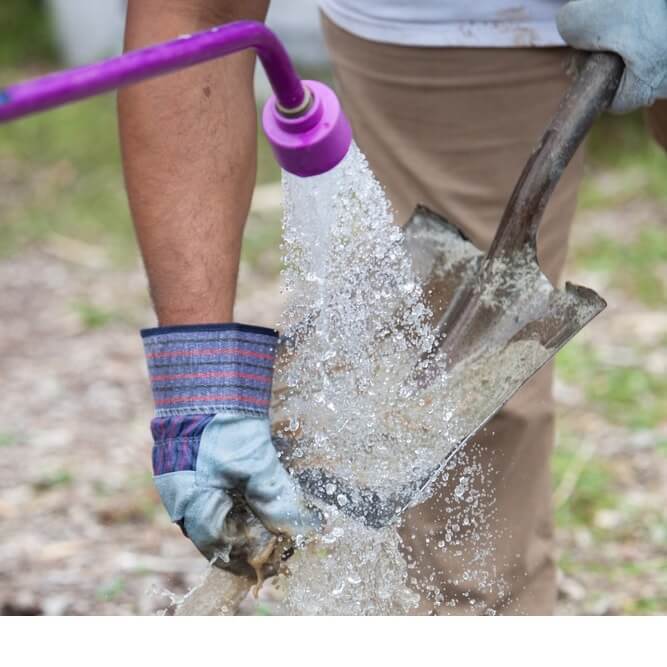
To clean the shovel blade, start by taking a wire brush and cleaning off any leftover dirt and debris. Then, rinse the blade off with clean water from your home or garden hose to ensure all the debris is gone. Lastly, wipe down the blade and blades edge with a dry cloth.
To create a rust-resistant surface on the shovel blade and help keep the blade edge sharpened, you can utilize a mixture of motor oil and sand. To do this, get a 5-gallon bucket and mix 1 quart of motor oil with sand.
After you have thoroughly cleaned and dried the shovel blade, place it into the five-gallon bucket of oil and sand. Dig your shovel around in this mixture for a bit, going vertically, horizontally and diagonally.
The sand is excellent for sharpening your blade, so it’s ready for your next big job. Motor oil helps prevent rusting on the edge of the blade by sealing the pores. This mixture will have your metal shovel blade looking and feeling brand new.
How To Clean A Plastic Shovel
When the white stuff begins to fall angelically, resulting in a deep snow pile, a plastic shovel will help you keep your home’s entrance clear. Thanks to your trusty plastic shovel, you can dig your way out of any snowstorm.
It is vital to keep your plastic shovel clean after use, so the ice doesn’t build up and crack the plastic
After using a plastic shovel, clear off any snow or ice that has formed onto it.
A trick to removing the ice is to set the shovel in a bucket of warm or hot water. Use a soft rag to dry your shovel off right away. A spray with WD-40 before storing it will ensure that snow will not stick to and pile up on the shovel the next time you use it, so you are genuinely only lifting the snow collected, not weight training with a heavy shovel due to snow sticking on the shovel.
Many plastic snow shovels have a metal scraper edge that can be cleaned and cared for, as described above, to keep the blade sharp and rust-free.
A shovel comes in handy for all sorts of projects and activities, digging dirt, removing snow, or building a sandcastle. A good shovel will be there through all projects but does require some TLC for all of its hard work.